

Plotting to PDF
Plot every layout of a drawing set to PDF in one run, without opening a single file yourself.
- Open the Layout/Plot Manager (
Ctrl+4) and add your DWG files. The table shows one row per layout. - Set the Plotter column to a PDF device, such as
DWG To PDF.pc3or one of theAutoCAD PDFpresets. To change many rows at once, select the cells and use Find/Replace, or set one cell and copy-paste it into the rest. - Set the Paper Size for the chosen plotter (e.g.
ISO A1 (841.00 x 594.00 MM)), and adjust any other plot settings: scale, orientation, plot style table.
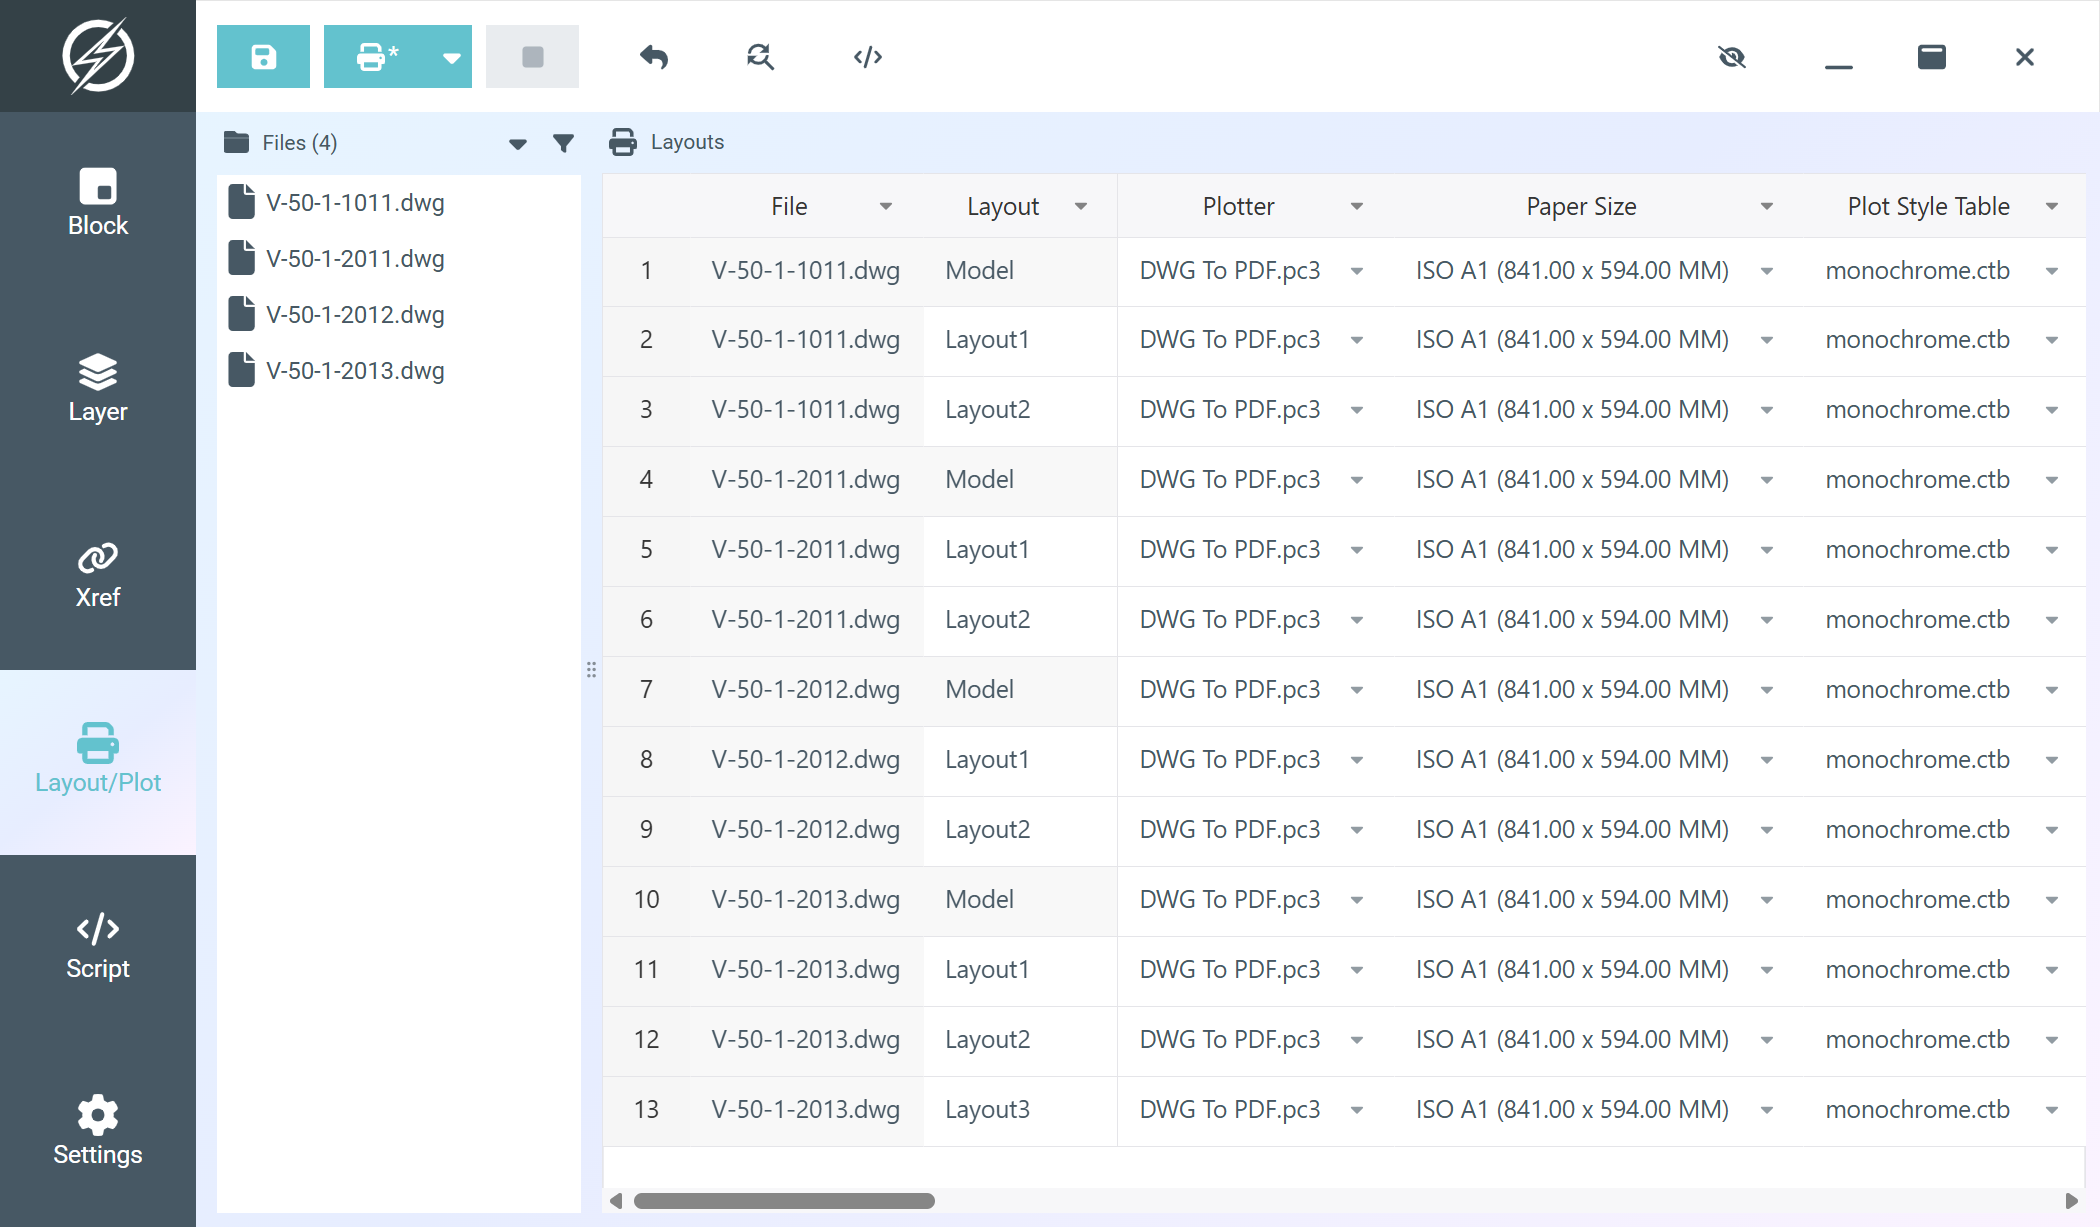
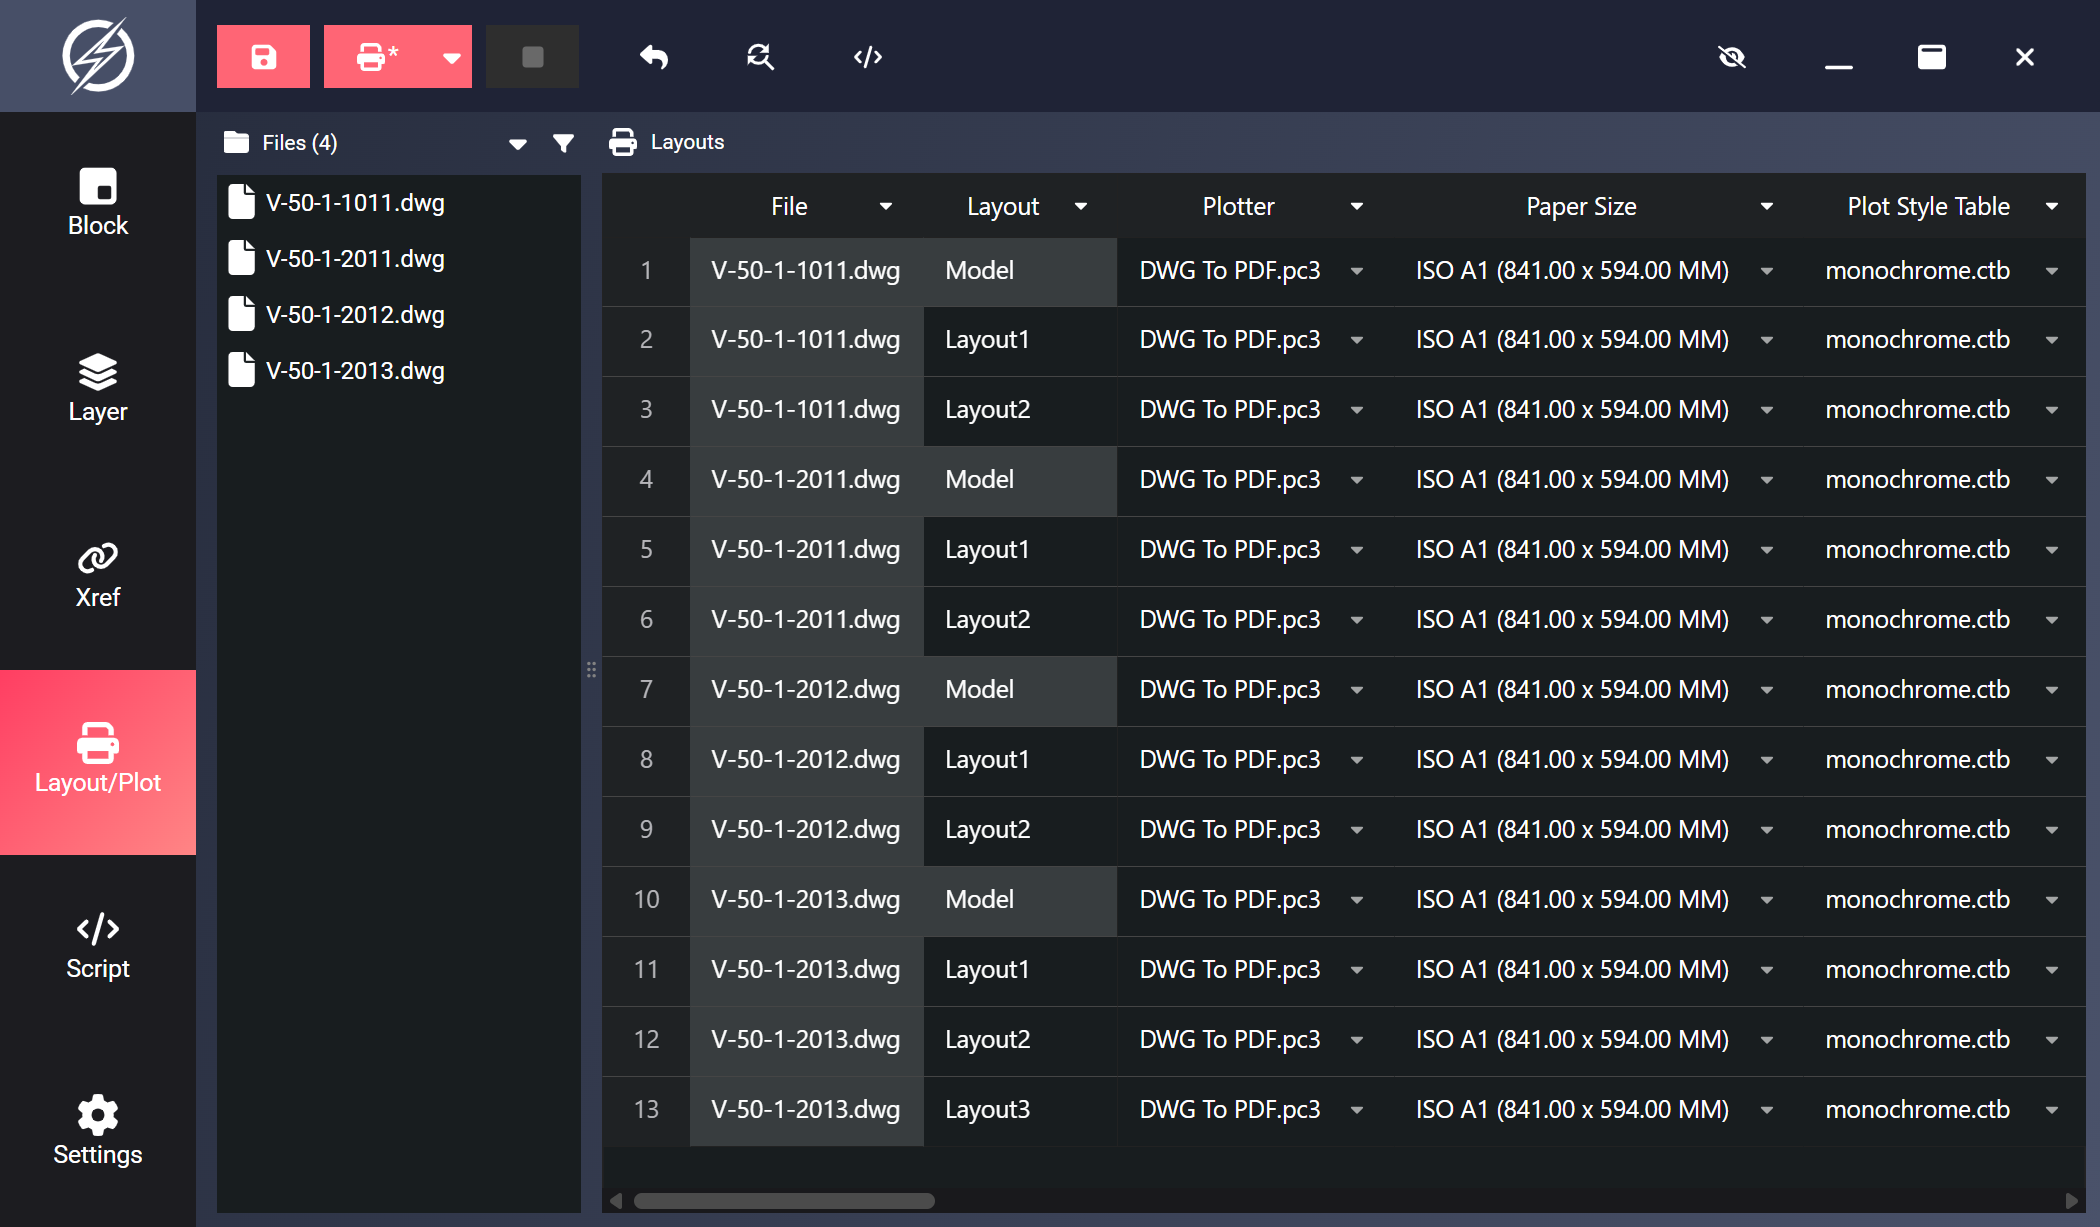
- Click Save if you want the plot settings stored back into the drawings.
- Choose where the PDFs land with the dropdown next to the Plot button, and how the files are named in Settings → Layout manager: the options are described under Plot Output.
- Pick the plot environment from the eye-icon menu. Background is fastest for large batches and runs files across parallel workers. Use CAD or CAD attach when a plotter needs the full AutoCAD environment. See Run Environments.
- Filter the table if you only want some layouts, since plotting includes valid, visible rows only.
- Click Plot and watch the per-file progress. In the Background environment, a failing layout doesn’t stop the rest of that file’s layouts. Failures are listed in a notification at the end.
- Rows with a red tint are invalid (for example, a plotter that isn’t installed on this machine) and are skipped when plotting, so fix the Plotter and Paper Size cells first.
- Need drawing preparation before plotting (e.g. a purge, or switching a system variable)? Add pre/post plot scripts via the Scripts toolbar button. See Layouts & Plotting.