

First Steps
The Interface
Section titled “The Interface”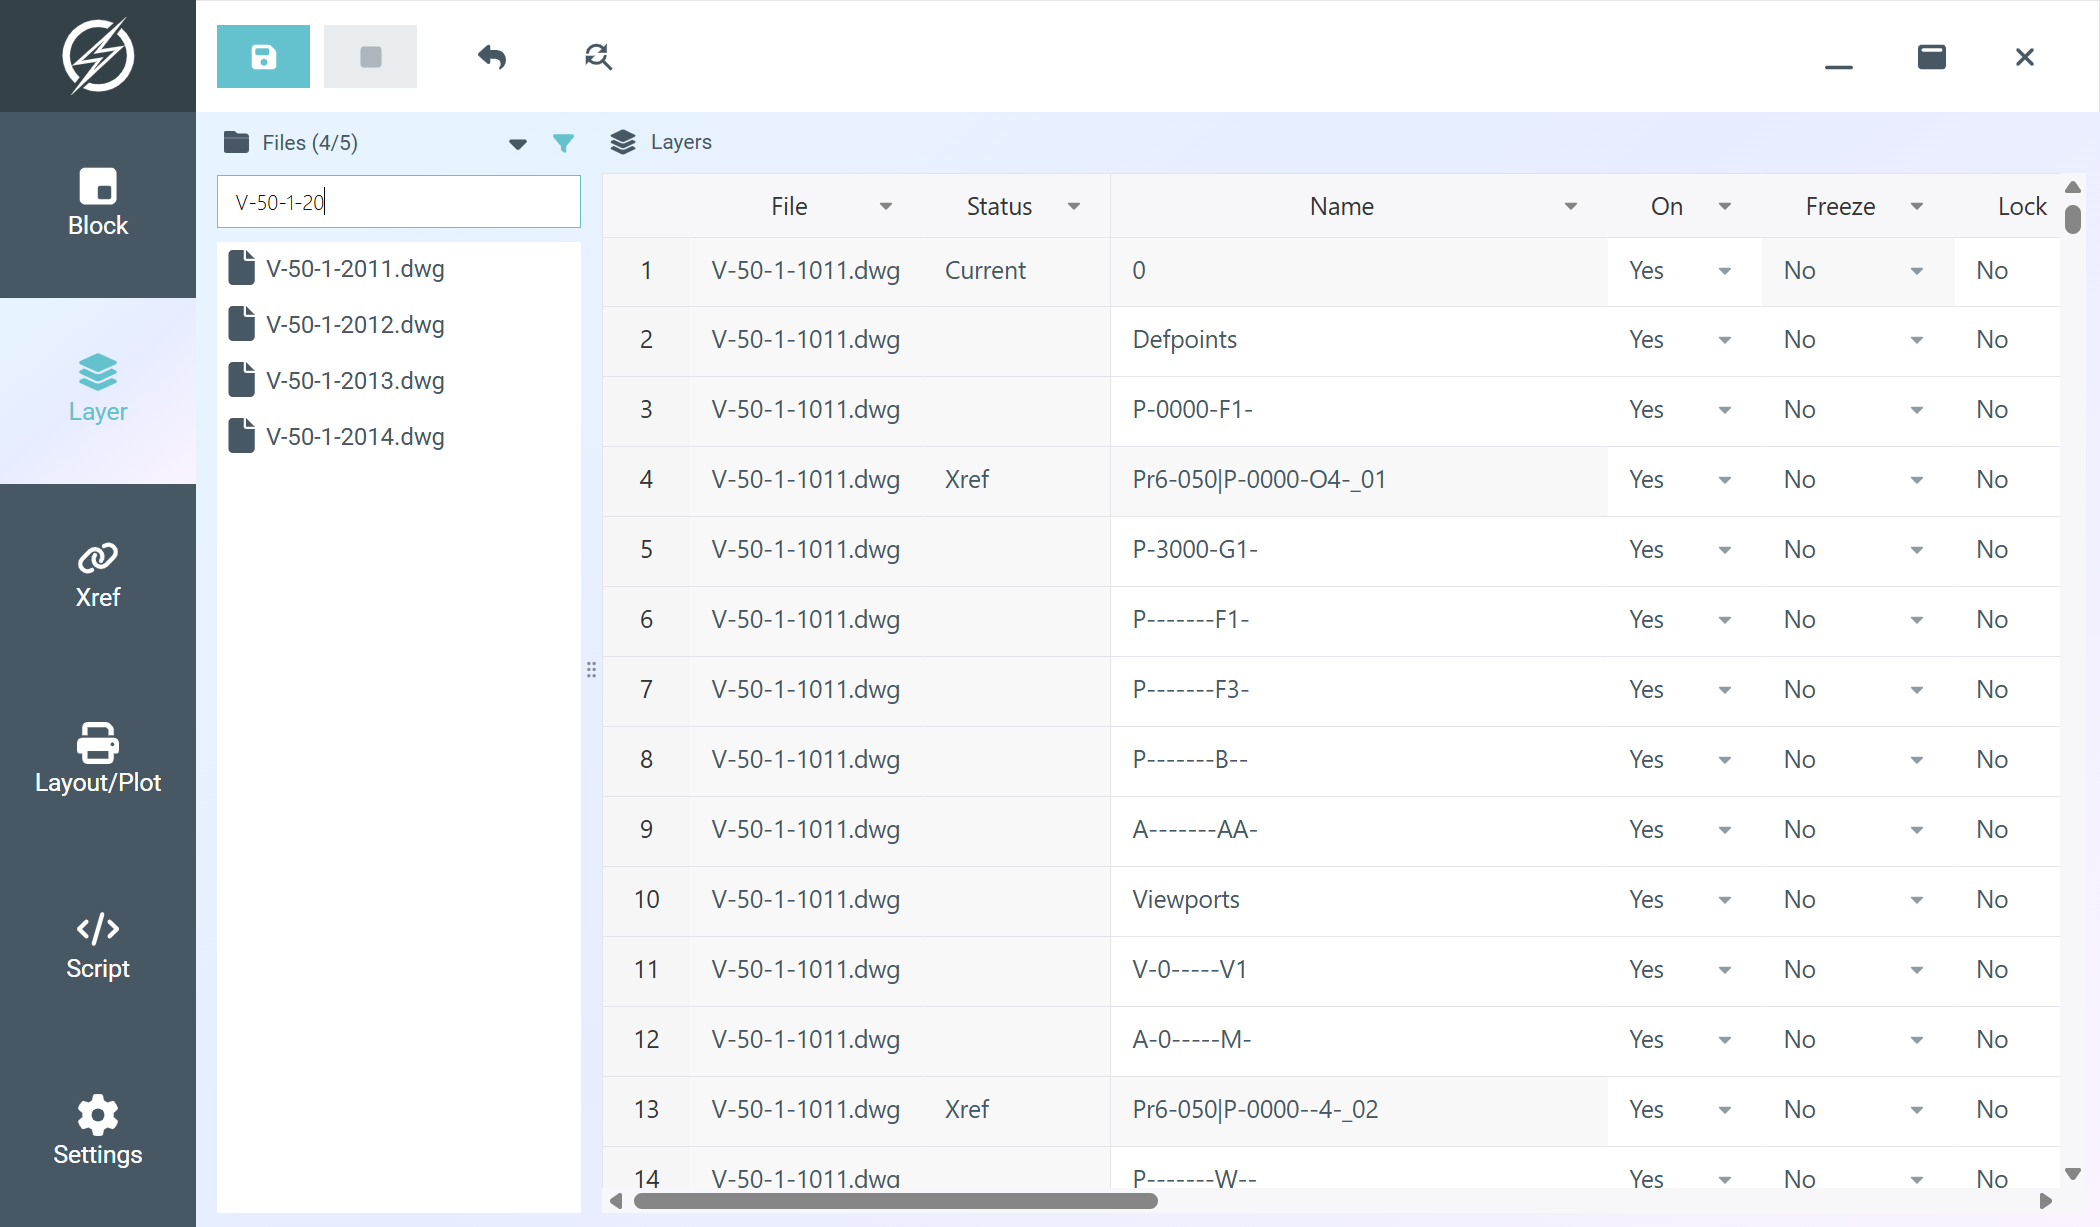
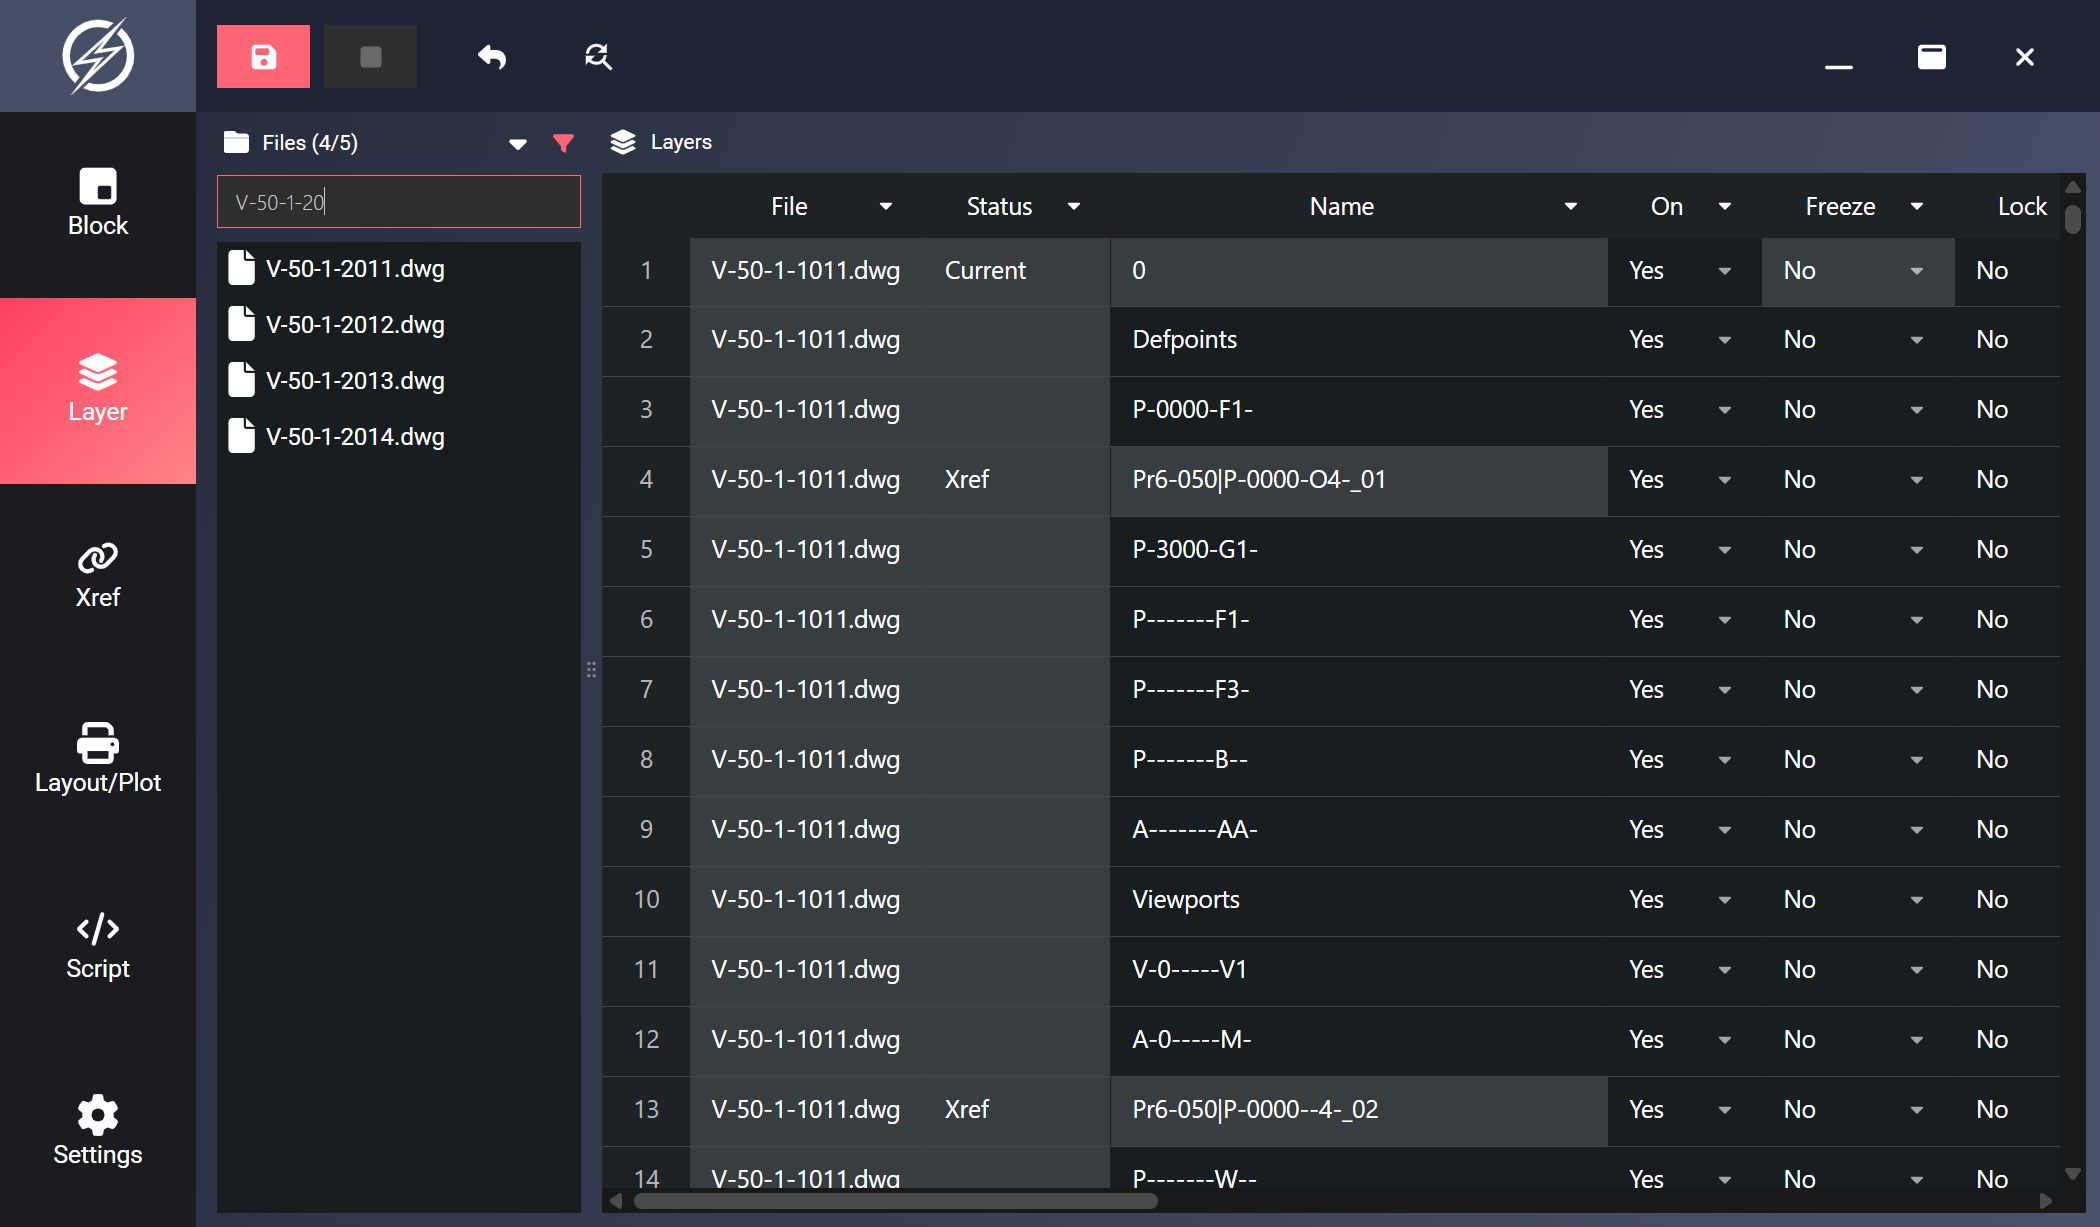
Indium’s interface is divided into three areas:
- Left sidebar: Feature navigation icons:
- Block Manager (
Ctrl+1) - Layer Manager (
Ctrl+2) - Xref Manager (
Ctrl+3) - Layout/Plot Manager (
Ctrl+4) - Script Manager (
Ctrl+5) - Settings (
Ctrl+6)
- Block Manager (
- File list panel: Shows loaded files with status indicators (loaded, loading, error, aborted). Drag the divider between the file list and the main area to resize it.
- Main area: The spreadsheet table or script editor for the active feature, plus a toolbar at the top.
While a batch operation is running, a floating progress indicator appears. If it covers something you want to see, drag it anywhere on screen and double-click it to restore its default position.
Loading Files
Section titled “Loading Files”There are several ways to add files (.dwg and .dwt are supported):
- File dialog: Click Add files in the file menu (or press
Ctrl+O) and select one or more files. - Drag and drop: Drag files from Explorer into the Indium window.
- Open a collection: Add a previously saved
.indiumcollection file (via the dialog or drag-and-drop) to restore a whole file list at once. - Copy from another manager: Use Add files from in the file menu to copy the file list from another feature manager.
Each feature manager maintains its own independent file list, so you can have different sets of files loaded in the Layer Manager and the Block Manager at the same time.
Filtering the File List
Section titled “Filtering the File List”Click the funnel icon next to the file menu to reveal a filter box. Type to narrow the list by filename. The header shows how many files match (e.g. Files (3/120)). Files hidden by the filter are deselected automatically, so actions like Remove selected never touch files you cannot see.
Keyboard Shortcuts
Section titled “Keyboard Shortcuts”| Shortcut | Action |
|---|---|
Ctrl+1 to Ctrl+6 |
Switch feature manager / open Settings |
Ctrl+O |
Add files to the active manager |
Ctrl+S |
Save the current file list as a .indium collection |
Ctrl+R |
Reload the selected files |
Delete |
Remove the selected files from the list |
Escape |
Stop the operation in progress |
Your First Batch Operation
Section titled “Your First Batch Operation”Here is a quick walkthrough to get a feel for Indium:
- Open the Layer Manager (
Ctrl+2). - Add a few DWG files using the file dialog.
- Wait for all files to finish loading (watch the progress bar and status icons).
- The table now shows every layer from every loaded file. Use the column filter (click the dropdown arrow on any column header) to narrow down to specific layers.
- Edit a value. For example, change a layer’s Color by clicking the color cell and picking a new ACI color.
- Changed cells are highlighted. Click Save in the toolbar to write changes back to the DWG files.
- Reload the files (
Ctrl+R) to verify your changes took effect.
Saving Collections
Section titled “Saving Collections”Use Ctrl+S (or Save file collection in the file menu) to save your current file list as a .indium collection. Next time, add the collection file like any other file to instantly reload the same set of files without re-selecting them.