

Adding & Removing Xrefs
Attaching a new external reference (a revised model file, a common grid, a frame) to dozens of drawings is a one-minute task in Indium.
Adding an Xref
Section titled “Adding an Xref”- Open the Xref Manager (
Ctrl+3) and add the host DWG files. - In the file list, select the files that should receive the xref.
- Click the Add xref (paperclip) toolbar button and pick one or more DWG files to attach.
- Configure the attachment in the dialog:
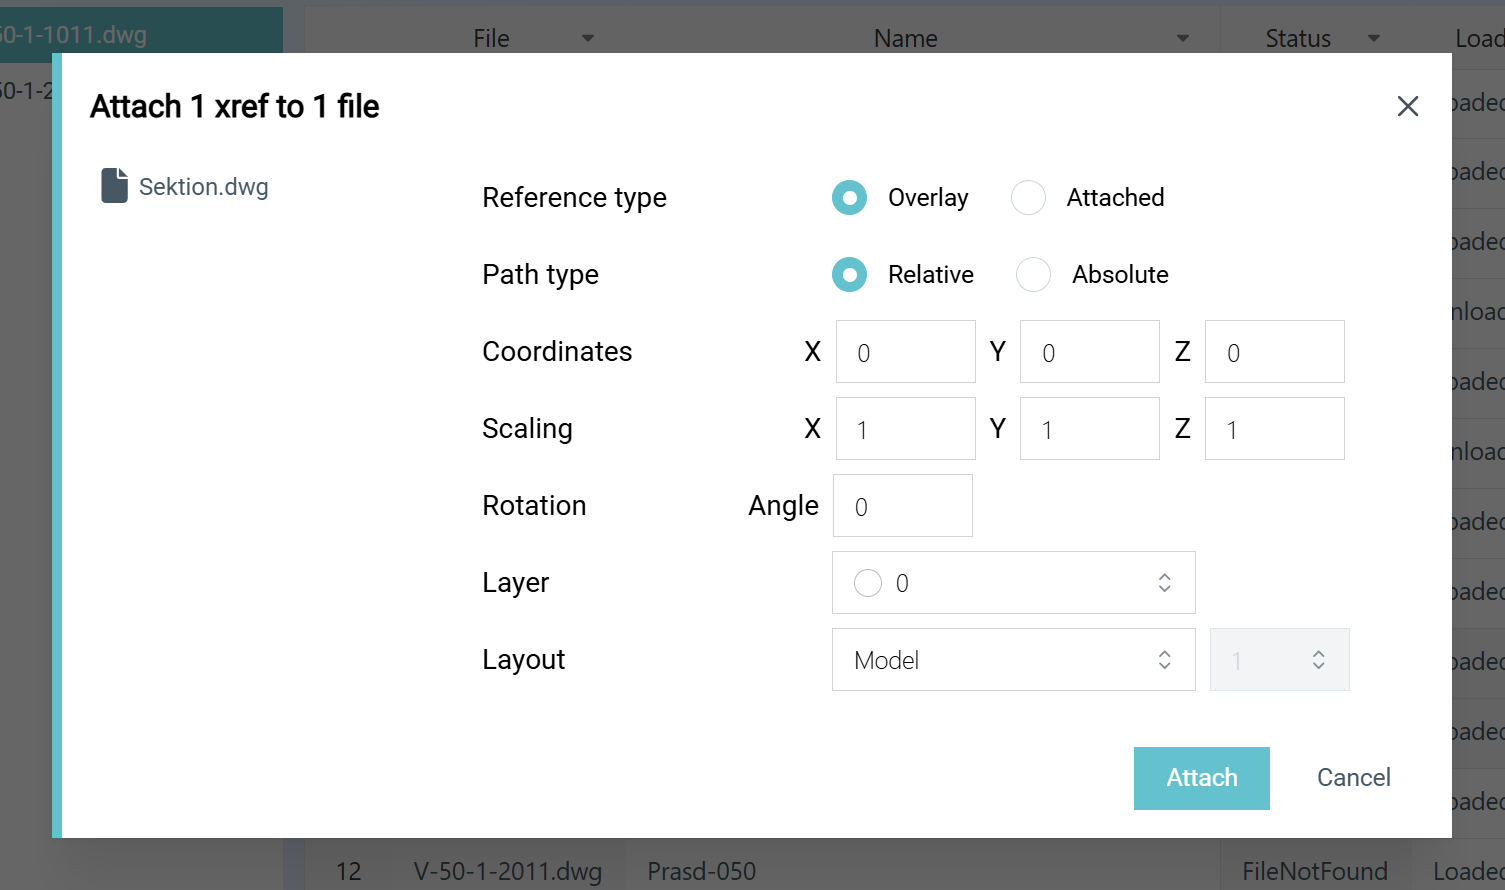
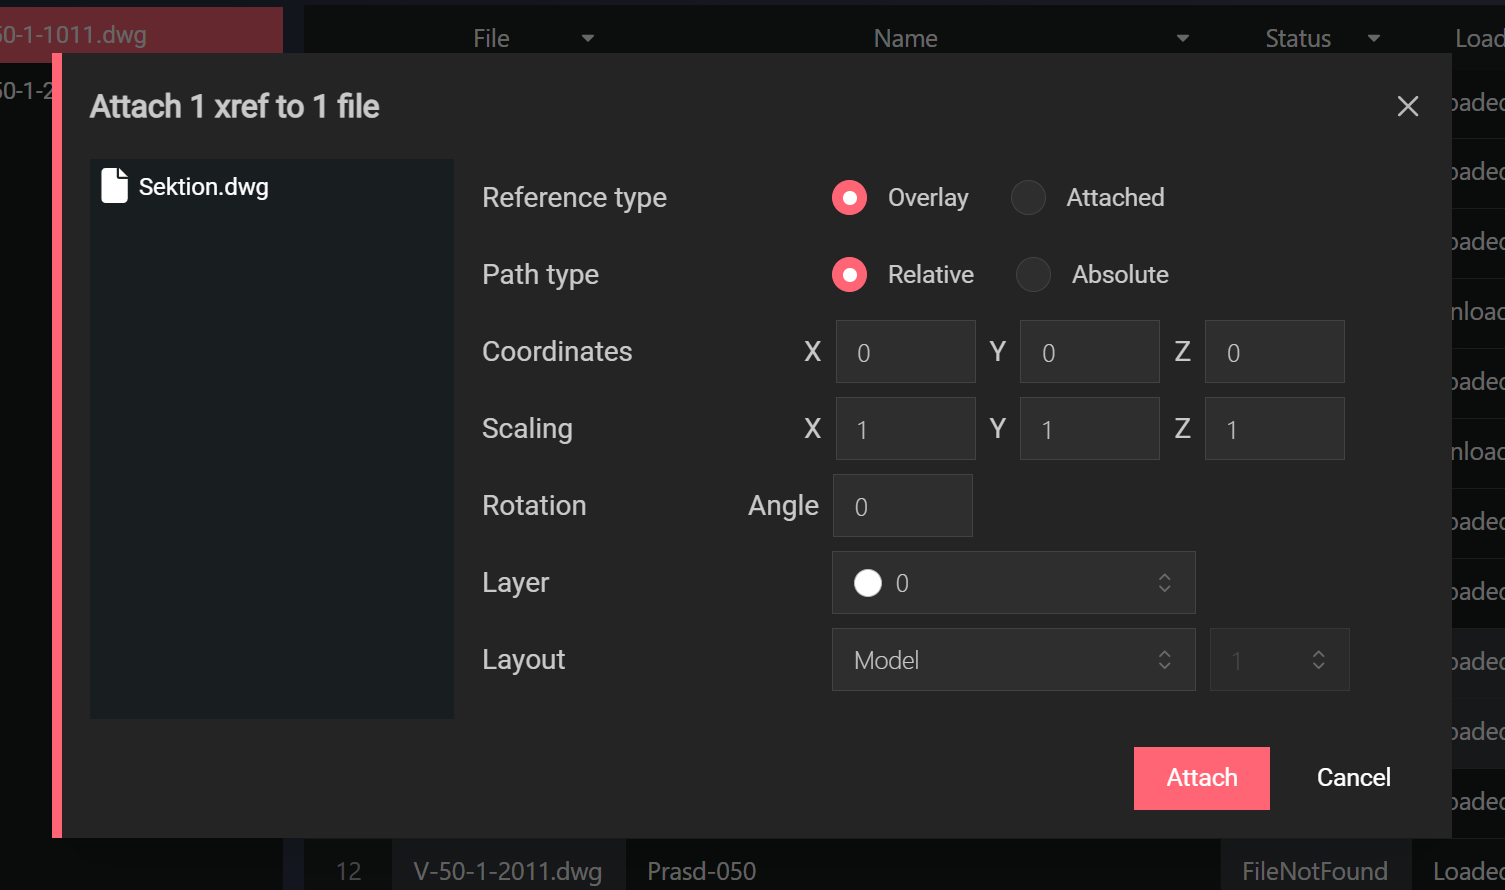
- Reference type: Overlay or Attached
- Path type: Relative or Absolute
- Coordinates / Scaling / Rotation: insertion point, scale factors, and rotation angle
- Layer: the target layer, chosen from the layers common to all selected files
- Layout: the target layout common to all selected files, or By tab order with a tab number
- Click Attach. New rows appear in the table, marked as added. The Instances view also shows a preview row for each new placement, where you can adjust its position, scale, rotation and layer before saving.
- Click Save to write the attachments into the drawings, then reload to verify.
Files that don’t contain the chosen layout are skipped with a warning, as are files you tried to attach to themselves.
Removing Xrefs
Section titled “Removing Xrefs”- Select the xref rows to delete in the table.
- Click Toggle remove xref (trash icon) to mark the rows for deletion. Clicking again unmarks them.
- Click Save. The marked xrefs are detached from their host drawings. Detaching removes every placed instance of the xref. While a row is marked, the Instances view shows its instances as deleted. To remove a single placed instance without detaching, delete its row in the Instances view instead.
Related
Section titled “Related”To fix broken or moved xref paths instead of adding/removing, see the path conversion tools in Xrefs.