

Installation
System Requirements
Section titled “System Requirements”- OS: Windows 10 or Windows 11
- CAD: AutoCAD or a vertical such as Civil 3D installed on the same machine
- Runtime: WebView2, downloaded and installed automatically by the installer if it is missing (this requires an internet connection)
Download
Section titled “Download”Visit indiumapp.com to download the latest installer.
Installation Steps
Section titled “Installation Steps”- Run the downloaded installer (NSIS-based, per-user, no admin rights required).
- Follow the on-screen prompts. If WebView2 is not already present, the installer downloads and installs it automatically.
- Once installation completes, launch Indium from the Start Menu or desktop shortcut.
License Activation
Section titled “License Activation”On first launch you will be prompted to activate your license:
- Enter your email address and click Get key.
- Check your inbox (and spam folder) for an email containing an 8-digit activation key.
- Enter the key and click Activate.
- On success, Indium launches automatically. No further action is needed.
If something goes wrong, click Start over to try again, or contact support@indiumapp.com.
License Queue
Section titled “License Queue”Licenses are shared within your organization. If all licenses are currently in use, Indium shows a No license available screen with your position in the queue. It retries automatically every 20 seconds and launches as soon as a license frees up, so just leave the window open.
First Launch
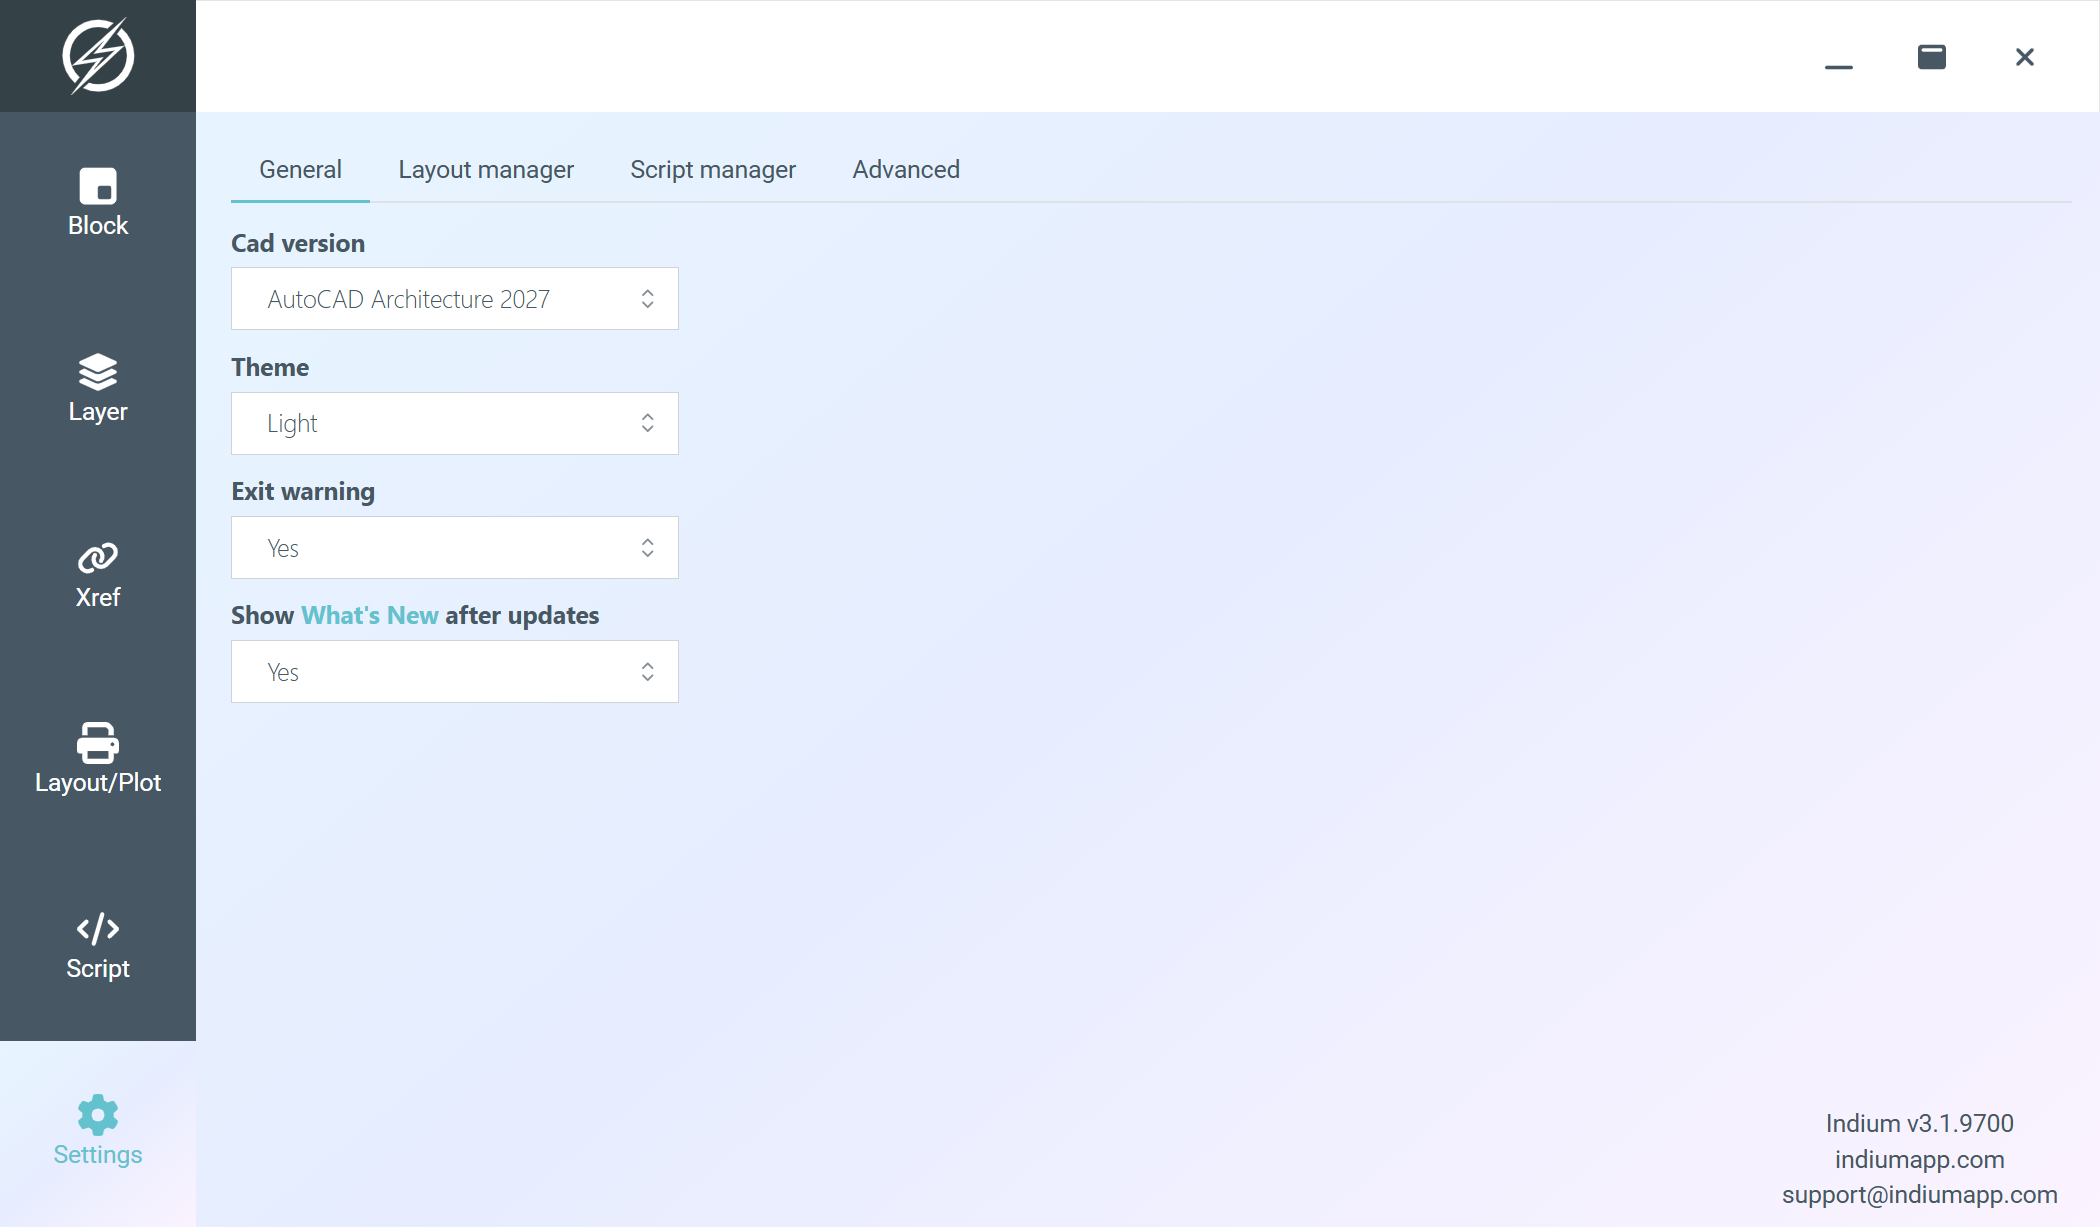
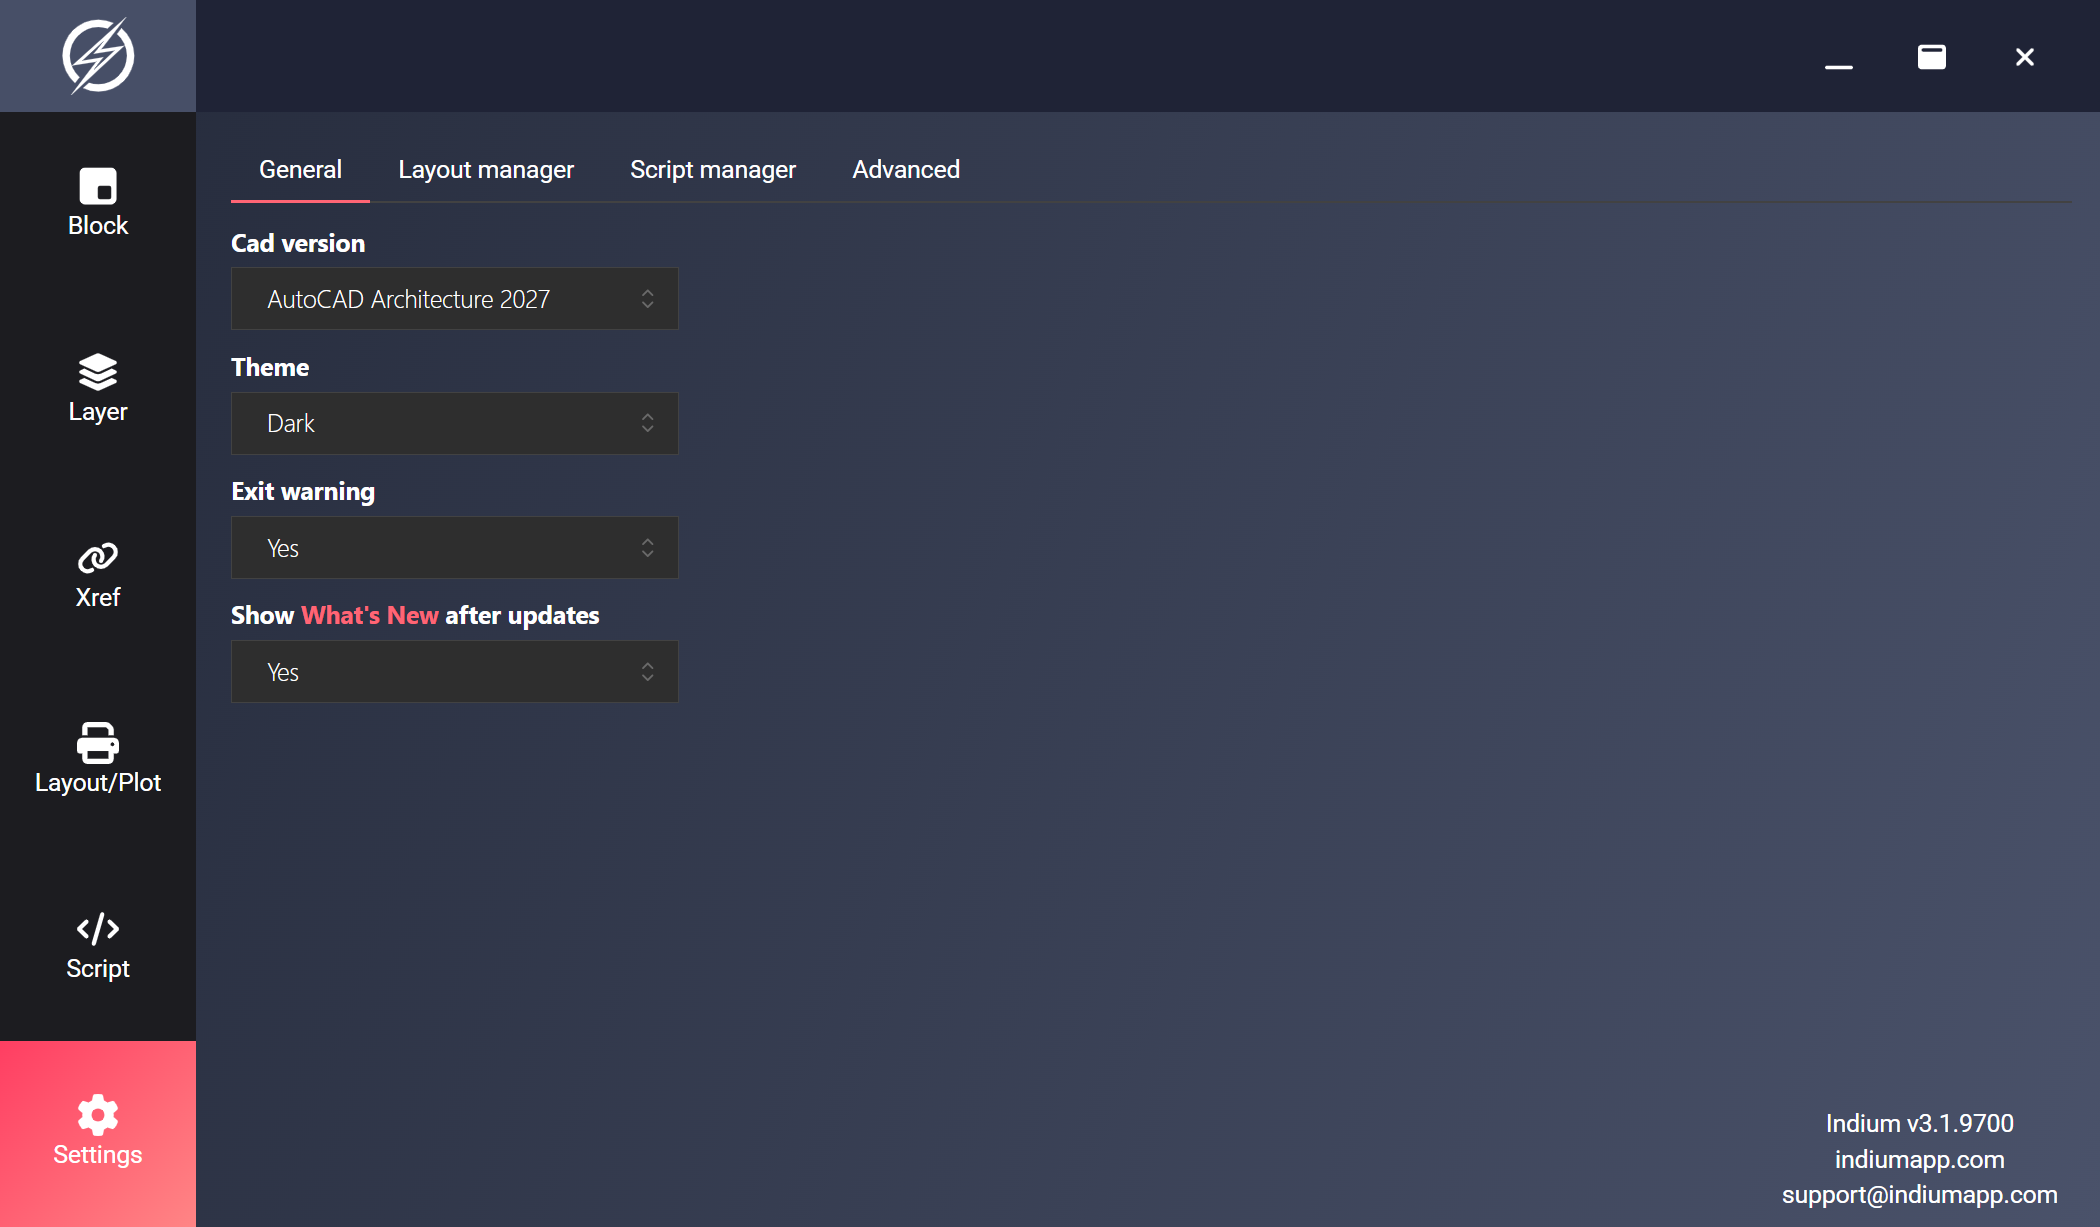
Section titled “First Launch”Indium automatically detects the AutoCAD and Civil 3D versions installed on your machine and uses the newest one. To use a different version, open Settings (Ctrl+6) and change Cad version on the General tab.
Updates
Section titled “Updates”Indium checks for updates at startup and installs them automatically before the app opens. By default you receive stable releases. To get early access to new features, switch Update channel to Pre-release under Settings → Advanced.